

Photos mostly by Liam Gebert.
I’ve had it in my head to build my own woodburning pizza oven since I went on a camping trip with my son Liam’s class at Angelic Organics a few years ago. (He goes to that kind of school.) They had a home-built one, very rustic and hippie-looking, and referred me to the bible for people who want to do this, Kiko Denzler’s Build Your Own Earth Oven. Denzler convinced me I could make a cool stone oven for about $25… but the book didn’t come with the land to do it on. And I couldn’t see anywhere on my Chicago property that I, or the adjacent houses, could feel happy about an oven sitting there hot enough to bake bread in… 24 hours after the fire went out.
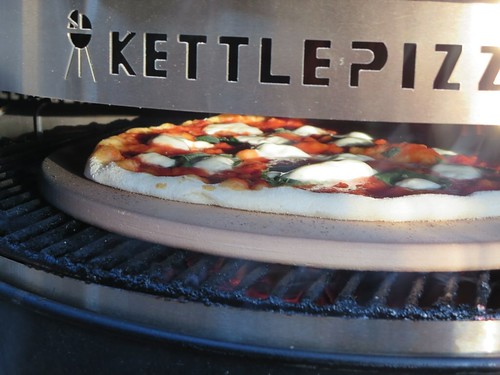
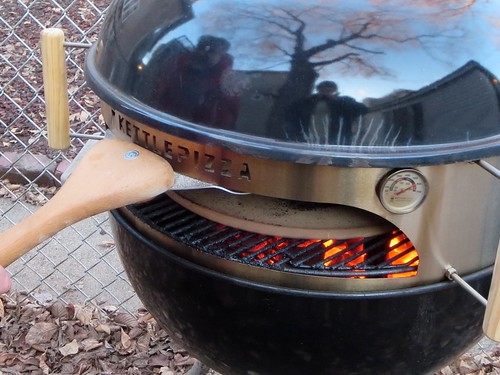
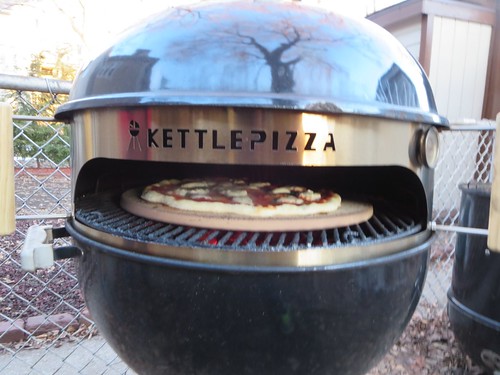
Then I heard about the Kettle Pizza, which is designed to fit onto a Weber kettle (either 18″ or 22″). It’s basically a metal ring with an opening, nothing more than that (okay, it has handles and a thermometer too), but it’s just enough that you can build a fire around 6-700 degrees (or even more), heat up a stone, slide pizzas in and out, and get something like a Neapolitan pizza off your Weber kettle for maybe $200 or so.
Here’s how the first dinner went:
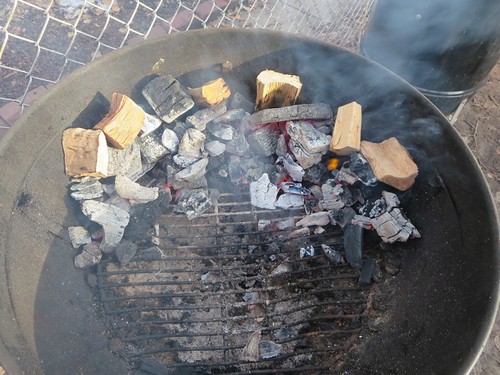
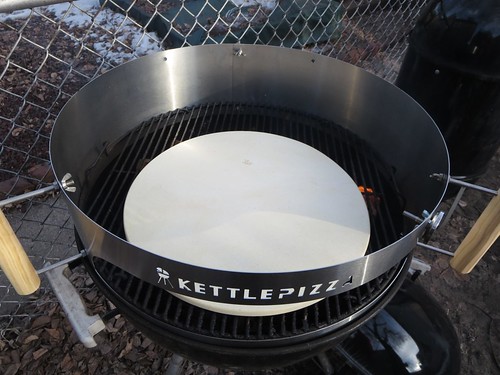
I use a Weber chimney so I lit that, then poured out the hot coals in a C-shape at the back and tossed on some hickory chunks. Wood will burn hotter than charcoal, and I also wanted to see if I could use the more readily available hickory without a margherita pizza tasting like Texas brisket, or if I needed something like oak that doesn’t produce a smoke flavor. Then you put the ring on, set the stone in the middle, and cover it.
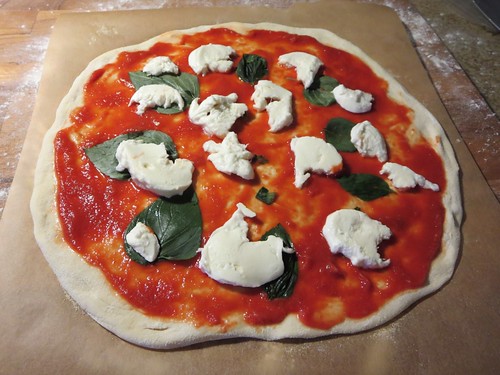
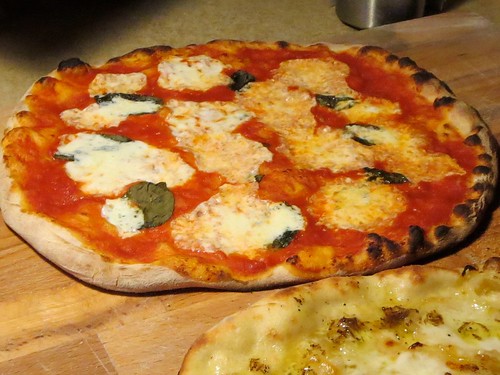
Then off to make pizza #1. The night before I had made the standard dough recipe from Mark Bello, of New York’s Pizza a Casa school. Later I’ll dabble in 00 flour and stuff like that, but for now I wanted to try this reliable recipe using regular all-purpose flour, which I already knew worked in my oven. I made a margherita with some fresh mozzarella I’d picked up at Eataly on Friday.
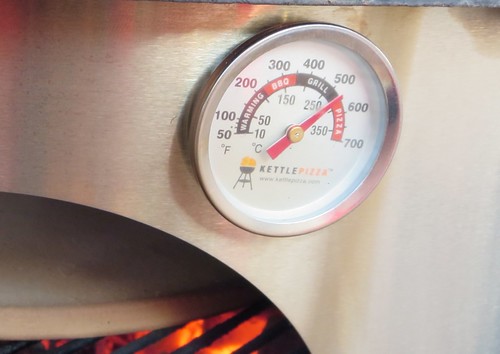
I went back out to check on the temperature and… it was only around 550 degrees. My fire was too small. Carefully I lifted and balanced the kettle on the edge while Liam poured in more charcoal and topped it with some more hickory. There were many possible disasters at this point, so I tell you this so you can avoid having to do it ever.
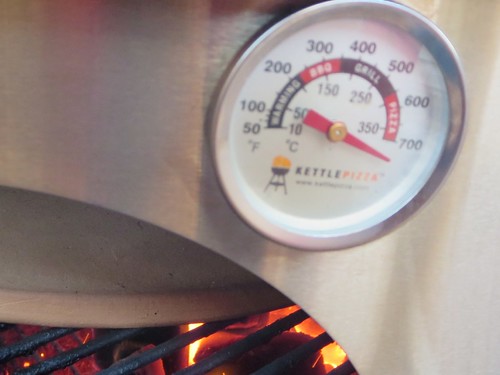
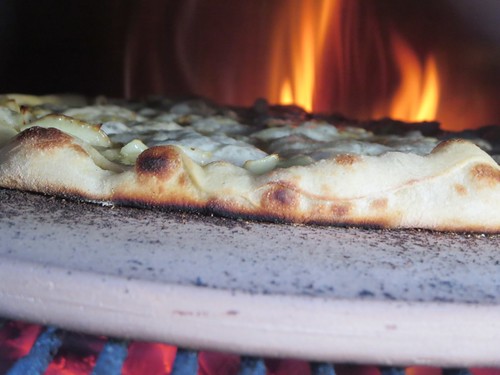
Back out in a few minutes and the temperature was now off the scale, which tops out at 700. So 750-800 degrees, as high as most woodburning restaurant ovens. In pizza numero uno went!

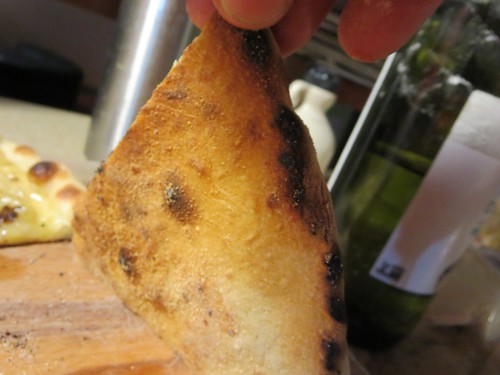
We waited 2-1/2 minutes, peeking through the slot. We could see the crust bubbling at this end, but I had been told it would cook faster nearer the fire (duh) and you needed to spin it halfway through.
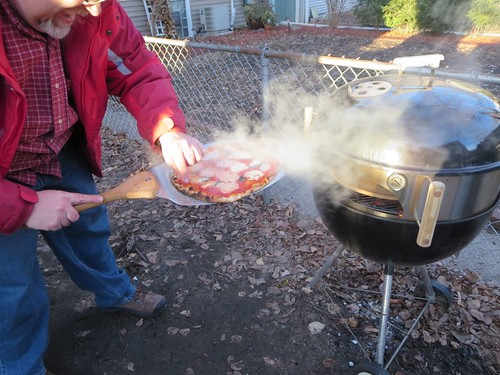
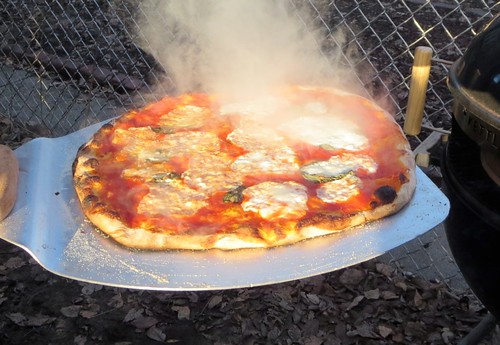
Well, so 2-1/2 minutes at this temperature was quite a bit more than halfway through, it turned out; the pizza was already black bubbles at the far end. Still, after being put back in to cook the other end for a moment, it looked pretty good for a first try.
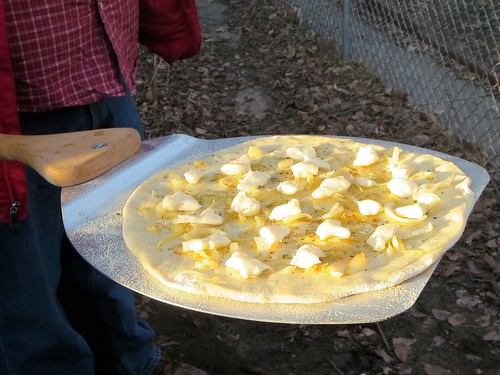
Pizza #2 was a recipe that I’d gotten from Bello himself when I went to a party he was cooking at here in Chicago. You put down olive oil mixed with honey (very quickly, since they separate again instantly), some sauteed onion, black pepper and hunks of taleggio cheese.
This time we timed the twirling better, barely a minute and a half for each side…
Then topped with some olive oil into which I’d shaved some Australian truffle.
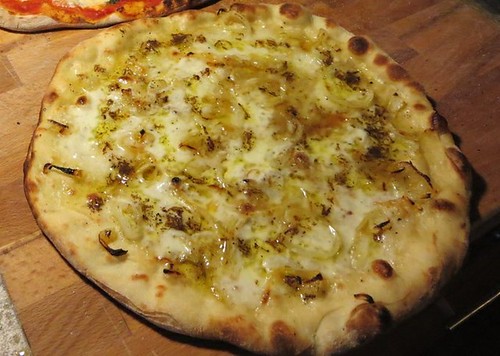
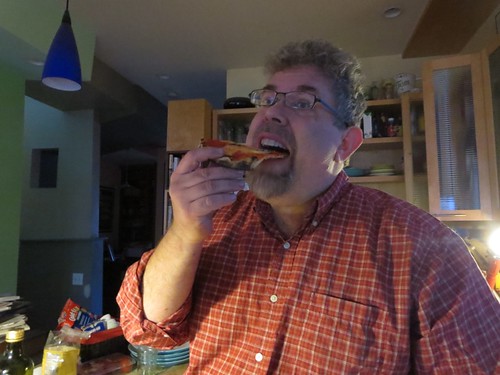
We sat down to eat at this point, the first pizza still hot. How were they? They came out very well for first tries. I think I spread the crusts too thin, and a little more bread would have helped, but they were definitely in the ballpark for Neapolitan pizza. A few thousand more and who knows?
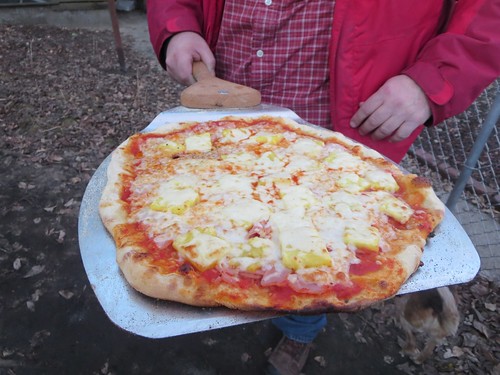
I had two more pizzas to make, another margherita and a Hawaiian which was meant to test how it cooked something covered with more ingredients than the margherita or other minimalist Neapolitan pizzas. Unfortunately, on this cold day by the time I got back out there the oven temperature had fallen down to barely above 500. But, of course, the stone retains its full heat for much longer. So I knew that this pizza would burn on the bottom before the top was done. I wound up holding it on the pizza peel up to the dome for a couple of minutes to get it done. I also realized that there was another tool I would need— a long brush to sweep the burnt semolina meal off the stone. The last two pizzas were less than ideal, but still were eaten happily, basically coming out like the pizzas I’d been making up to this point in my regular oven.
And so, conclusions:
1) The Kettle Pizza works and is money well spent.
2) They say you want their stone because the one you have is only designed for indoor oven temps, so you might as well. It’s thicker, which is good.
3) Build a big fire that will last as long as you cook.
4) Turn earlier than it looks like you need to.
5) Hickory is fine, it didn’t taste like barbecue.
6) I like my new Kettle Pizza!
 If you like this post and would like to receive updates from this blog, please subscribe our feed.


